


Star Wars Zero Company: Beginner’s Guide to Tactical Combat
By Jaymo | Today at 10:26amStar Wars Zero Company has a rather unique combat system that not everyone is used to, and it can be hard to understand how it really works. EA and Bit Reactor have now gone into much more detail about what you can expect once you start your first Tactical Mission.
Basically, Zero Company is a turn-based tactical game where you will control your entire squad from an isometric perspective. Your Operators have a number of different actions available to them every turn, and knowing how to combine them will be your best chance to survive the different missions. We put together all the official information available so far about the battlefield basics in Zero Company, so you get a few beginner tips about how it all works!
How Do Turns Work in Star Wars Zero Company?
It is turn-based, so combat takes place in turns, with your entire squad acting first before the enemy gets its turn. Each Operator has three Action Points (AP) to spend during their turn.
You can use those AP for things like:
- Moving around the battlefield
- Attacking enemies
- Using Overwatch
- Using utility items
- Activating abilities
You are not locked into a specific order, either. You can use your three AP in whatever order makes the most sense for the situation. For example, you could shoot an enemy, move into better cover, and then use Overwatch to protect your squad when the enemy gets its turn. Overwatch is the only action that will automatically end an operator’s turn, so make sure to use that one last.
Some actions do not cost AP at all, meaning you can sometimes squeeze even more out of a turn.
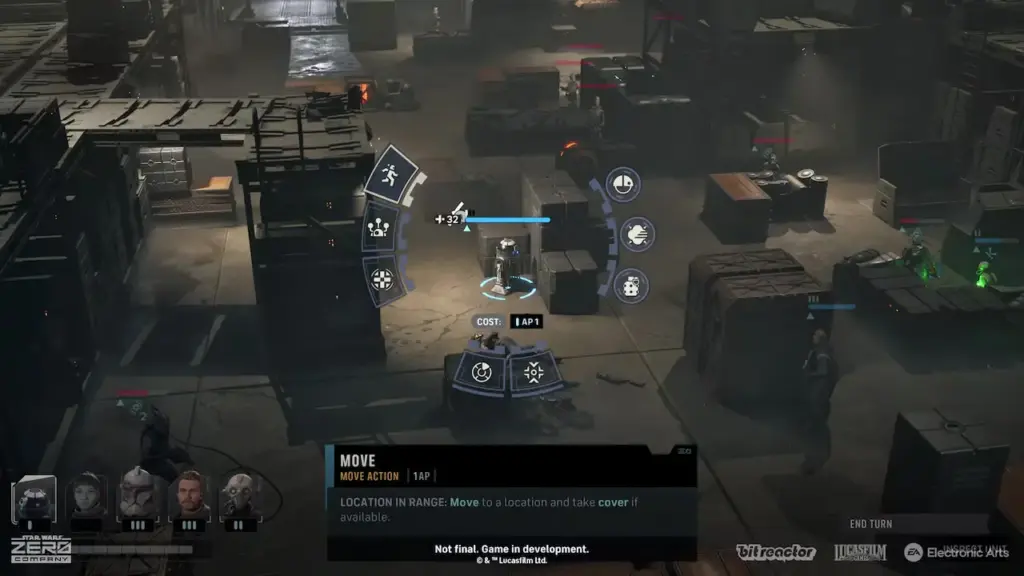
Action Points Use
Movement costs AP depending on how far you want to travel, but attacks have different AP costs depending on the weapon being used. Some attacks can even consume all of an Operator’s remaining AP, so you will need to think about what you want to accomplish before committing to an attack.
You will also be able to see your Chance-to-Hit before attacking an enemy. That percentage is affected by things such as distance and cover, with additional information available through the Shot Breakdown panel. So if an enemy is sitting safely behind cover with a low Chance-to-Hit, charging ahead and taking the shot might not be the best option.
How Does Overwatch Work?
Overwatch is one of the most important tools in your tactical arsenal.
Instead of immediately attacking an enemy, an Operator can place an Overwatch cone on an area of the battlefield. If an enemy moves through that area or takes an action inside it during their turn, your Operator can automatically fire. Even better, an enemy hit while moving can have its movement interrupted. The number of enemies an Operator can fire at depends on how much AP you invest into Overwatch, and the length of your Overwatch cone affects your Chance-to-Hit.
Keep in mind that using Overwatch immediately ends that Operator’s turn! That makes it particularly useful as your final action, but if you use it too early, you will miss out on other opportunities.
For example, you could attack an enemy with your first two AP, move into a safer position, and then place an Overwatch cone with your final action.
That way, you are not simply waiting for the enemy to attack you on its turn.
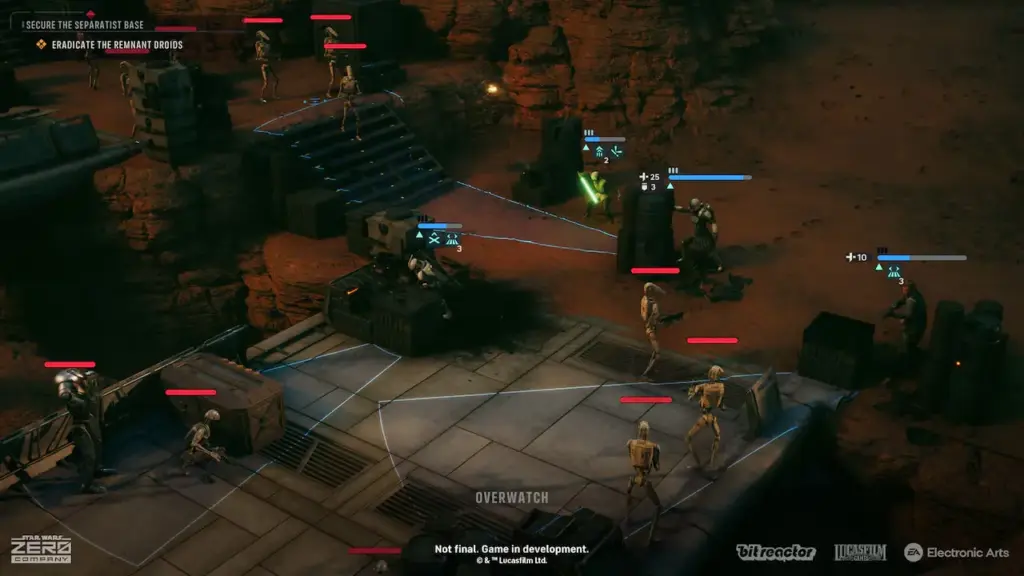
Cover Is Extremely Important
If you have played other tactical games, this part should feel pretty familiar. Cover can be the difference between surviving a firefight and getting your Operators filled with blaster bolts. Zero Company has both partial and full cover.
- Partial cover makes your Operators harder to hit
- Full cover provides even better protection
But staying behind the same piece of cover forever is not necessarily safe. Some cover can be destroyed by incoming attacks, meaning an apparently safe position can eventually leave your Operator completely exposed. You can also improve your Chance-to-Hit by flanking enemies or attacking from higher ground.
So instead of simply finding the nearest piece of cover and staying there, you will need to pay attention to how the battlefield changes throughout the fight.
Do Not Forget Your Utilities
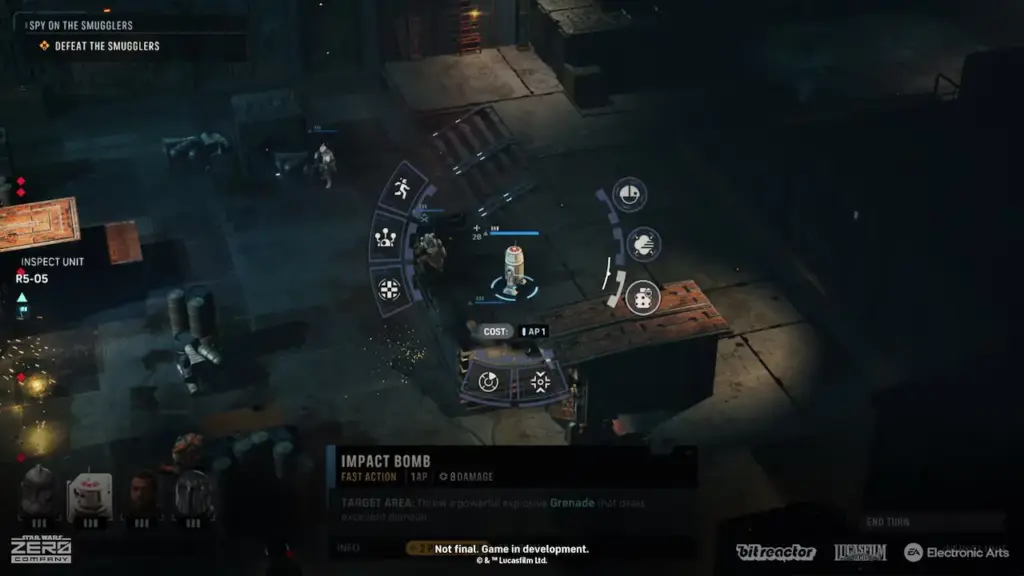
Operators can also use utility items during combat. Things such as Medkits and Concussion Grenades can typically be used for one AP and can give you another way of dealing with difficult situations.
A grenade might help clear out a group of enemies, but a Medkit can keep an injured Operator in the fight.
The important thing is that these are not just emergency buttons. Since actions can be performed in any order, you can incorporate utilities into your turn alongside movement and attacks.
What Is Advantage?
AP is not the only resource you will need to manage. As your Operators land attacks on enemies, you will build up Advantage, a shared resource that can be spent on some of the squad’s strongest abilities.
You can hold a maximum of 10 Advantage.
Some examples of what Advantage can do include:
- Giving an ally an additional AP
- Calling in a powerful rocket strike
- Temporarily increasing your entire squad’s Chance-to-Hit
- Taunting nearby enemies and forcing them to attack a specific Operator
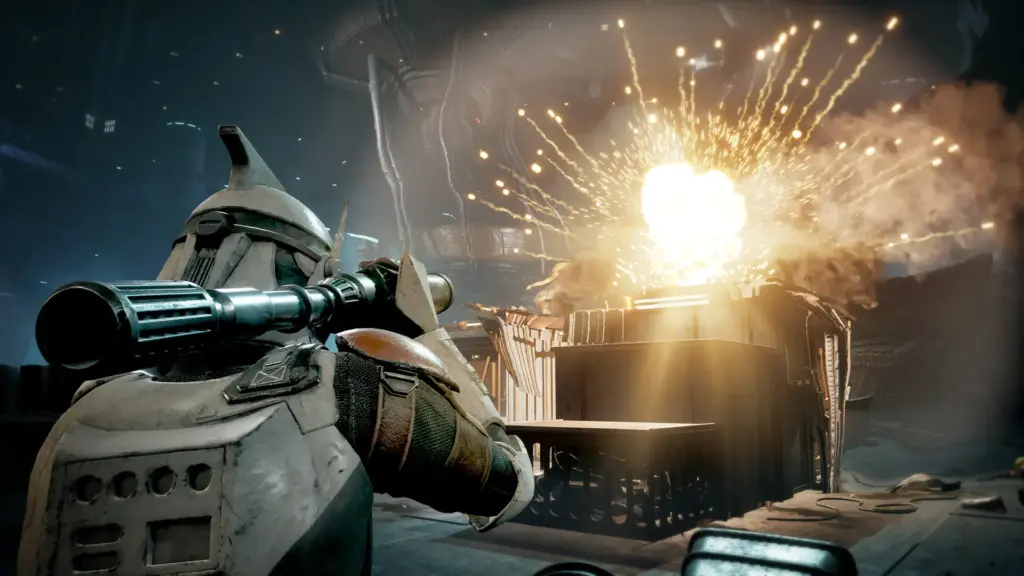
The really useful thing about Advantage is that it does not cost AP. That means you can potentially spend all three AP on an Operator and still use an Advantage ability afterwards. It can therefore work as either a last-second way to get yourself out of trouble or as part of a carefully planned turn where you want to maximize your squad’s damage.
Calling for Backup Can Add More Firepower
There is also an action called “Calling for Backup” that does not cost AP. Each turn, one random Operator can use it to select a teammate who will assist with their next attack, usually by contributing additional firepower against the target. It is particularly useful against stronger enemies that might otherwise survive your normal attacks.
Once again, you need to think about your squad as a team and not treat each Operator as an independent unit. You have to make them all work together to come out safely.
What Happens When an Operator Goes Down?
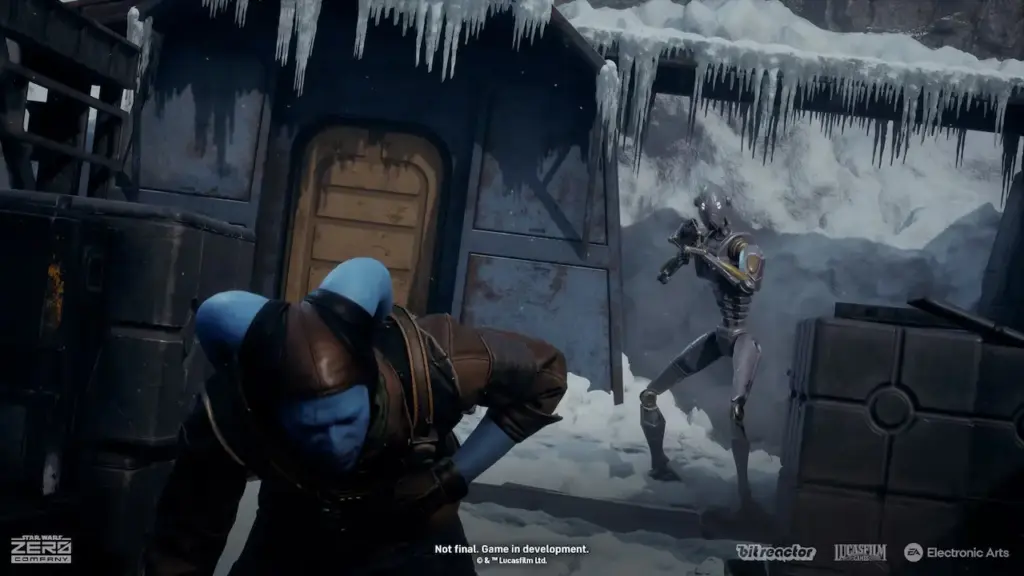
Things get considerably more serious when an Operator loses all of their Health. At that point, they are Downed and receive an Injury. A Downed Operator cannot perform actions, but another member of the squad can Rally them and get them back into the fight.
The problem is that Injuries do not simply disappear. They negatively affect combat statistics, and on the standard difficulty, accumulating three Injuries results in permanent death. So even if you manage to get someone back on their feet during a mission, repeatedly letting the same Operator get knocked down can eventually cost you that character permanently.
And yes, that applies to the members of Zero Company.
Nobody is completely safe.
Your Operator’s Specialization Matters
All of this becomes more interesting because Operators do not all play the same way. Most Operators can use one of eight standard Specializations, with each one providing its own Ultimate, Standard Ability, and Passive. On top of that, you can also find four special exotic classes that come with certain conditions. And these are not necessarily permanent choices. As we have learned previously, standard Specializations can be changed through the Personnel room at The Den, giving you room to experiment with different builds.
You can also equip a secondary class as you progress. For more information on the different classes, we detailed everything in another article!
Combining Abilities Is Where Things Get Interesting
The developers clearly do not expect you to simply pick an Operator, use their strongest ability, and repeat. Some of the most effective strategies come from combining the abilities of different Operators.
One example involves Tel-Rea’s Force Push. She can use Force Push to knock an enemy out of cover and directly into a squadmate’s Overwatch zone. Suddenly, an enemy who was safely hiding behind cover can be exposed and immediately punished by another member of your squad. The same idea can apply to Kabb’s Uppercut that can also knock enemies out of position.
So even if the basic combat system is built around AP, movement, and cover, the more advanced strategies will come from understanding how your Operators’ abilities interact with each other.
Star Wars Zero Company Is All About Making Your Turn Count
The basic systems in Zero Company are not particularly difficult to understand individually. You have three AP per Operator, you can move, attack, use abilities, and set up Overwatch, and cover helps keep your squad alive.
The challenge comes from deciding how to combine all of those things.
Do you spend your AP attacking now, or move somewhere safer? Do you use Overwatch to protect your position? Should you spend your Advantage immediately or save it for a stronger ability? Is it worth exposing an Operator to finish off an enemy?
And if someone gets injured, can you afford to risk them again?
Those decisions are ultimately what Zero Company’s combat is built around. There does not appear to be one strategy that is always going to work, so learning how to use your squad’s different strengths and finding ways to combine their abilities will be your best way to survive.
For more information about Star Wars Zero Company, check out our latest news!